Step-by-Step Guide to Setting Up a Balcony Compost Bin
Chosen theme: Step-by-Step Guide to Setting Up a Balcony Compost Bin. Turn kitchen scraps into rich, living soil right outside your door. This friendly guide shares practical steps, tiny-space tricks, and real-world stories to help you begin today. Share your balcony setup ideas in the comments and subscribe for hands-on tips that keep your compost thriving all year.
Measure Space and Sun Exposure
Grab a tape measure and note the footprint you can spare, then watch how sunlight moves across your balcony. Excessive heat can dry the mix, while deep shade slows decomposition. Aim for bright, indirect light. Leave room to lift the lid and turn materials comfortably without knocking planters or railings.
Choose a lidded tote with drilled vents, a compact tumbler, or a stackable worm bin for ultra-tight quarters. Look for sturdy handles, pest-resistant lids, and thick walls that buffer temperature swings. If you drill your own, add mesh over holes to block insects while allowing airflow that keeps odors down.
Drill small, evenly spaced holes on sides and lid, then line the inside with fine mesh. Airflow fuels aerobic microbes that produce an earthy scent, not sour smells. If using a tumbler, open the vent occasionally and give it a few turns. Proper oxygen reduces clumping and helps materials break down evenly.
Leachate Control and Protection
Place a shallow tray or boot mat under the bin to catch drips. Inside, create a base layer of coarse browns—corrugated cardboard or twigs—to improve drainage. Consider a breathable liner like burlap to prevent soggy patches. A snug lid keeps rain out while still allowing controlled, intentional moisture adjustments.
Positioning for Weather and Access
Set the bin on level ground near your kitchen door for easy daily feeding. Shield it from strong winds that can scatter browns and from direct downpours that saturate the mix. If your balcony bakes in summer, add shade cloth. Make turning and topping up effortless, and you will maintain momentum week after week.
Master the Browns and Greens
Aim for roughly two to three parts browns to one part greens, supporting a carbon–nitrogen ratio around 25–30:1. Browns are dry and absorbent; greens are moist and nitrogen-rich. This simple balance keeps odors down and speeds decomposition. If the bin smells, add browns; if it looks dry, add more greens and water.
Master the Browns and Greens
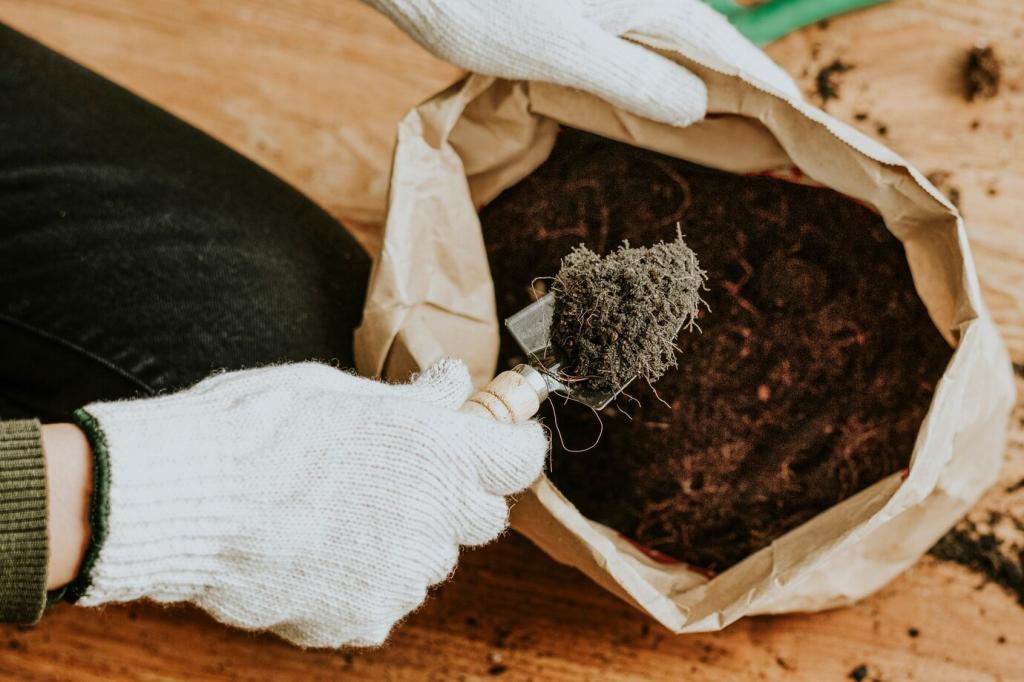
Shred cardboard, paper egg cartons, and paper bags into thin strips that pack tightly yet breathe. Store a small bin of dried leaves or coco coir nearby as your odor-control hero. Pre-shredded browns make it easy to cover every food addition. Keep a scoop handy to quickly blanket fresh scraps and maintain balance.
Start the Pile: Layering and Moisture
01
Create a Breathable Base
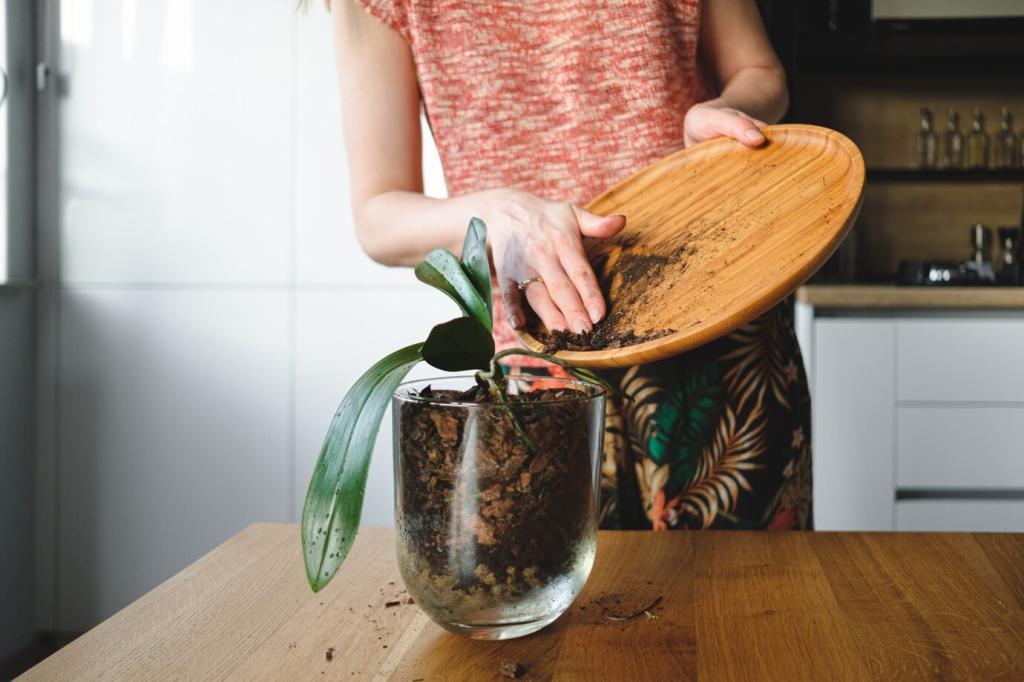
Begin with a cushion of coarse browns—egg carton pieces, twiggy stems, or chunky cardboard—to lift the pile off the bottom. This base welcomes air and prevents compaction. Add a handful of finished compost or garden soil as a microbial starter. A lively start encourages steady decomposition from day one.
02
Layer Like Lasagna
Alternate thin layers of greens and browns, finishing each feed with a generous brown cap. Keep pieces small for rapid breakdown in tight quarters. If materials clump, fluff them gently. Think of it as building a breathable sandwich that feeds microbes steadily without smothering them or creating wet pockets.
03
Moisture Test and Adjustments
Strive for the feel of a wrung-out sponge—moist but not dripping. If it is too wet, add shredded cardboard and mix; too dry, lightly mist with water. On hot, windy days, moisture evaporates quickly on balconies, so check more often. Frequent, small adjustments are easier than big emergency fixes.
Daily Care: Feeding, Turning, and Pest Control
01
Add small amounts of chopped scraps two to four times per week, covering each addition with browns. This steady cadence avoids soggy layers and discourages pests. If your schedule is busy, freeze scraps and feed when convenient. Consistency matters more than volume—tiny, frequent feedings keep the microbial engine humming.
02
Use a hand trowel, compost crank, or sturdy wooden spoon to gently lift and fold the mix weekly. On a balcony, even a few minutes of aeration makes a difference, preventing mats from forming. If you have a tumbler, rotate it several times every few days. Air revives sluggish piles and evens out moisture.
03
Always bury fresh greens and seal with a thick brown blanket. Keep vents screened, lids snug, and the area clean. If fruit flies appear, add extra browns and avoid overripe peelings on top. For persistent odors, increase airflow and balance. Simple vigilance keeps your bin invisible to pests and pleasantly neutral-smelling.
Composting Through the Seasons on a Balcony
Heat and Summer Management
Provide shade during afternoon peaks and check moisture more frequently to prevent drying. Smaller, well-mixed pieces decompose faster without overheating. Add browns generously to counter juicy summer scraps. A light burlap cover inside the lid helps retain moisture while still allowing airflow, keeping the bin comfortable for microbes.
Cold Weather Strategies
In winter, decomposition slows. Insulate the bin with cardboard sleeves or move it against a shared wall for warmth. Chop scraps finer to help microbes work efficiently. Expect longer timelines and feed modestly. If temperatures plummet, consider a worm bin indoors. Patience pays; spring warmth will jump-start the process again.
Rain, Wind, and Storms
Secure lids with clips or bungee cords and ensure drainage holes cannot flood. Position the bin out of direct rain to avoid waterlogging. Heavy winds can scatter browns, so keep a covered container of shredded material nearby. After storms, do a quick check: fluff, rebalance, and resume your usual rhythm.
Harvest, Cure, and Use Your Balcony Compost
Finished compost looks dark and crumbly, smelling like a forest floor after rain. You should not recognize original scraps, aside from a few stubborn eggshell flecks. If it is still hot or sticky, give it more time. Trust your senses—earthy aroma and spongy texture signal success on a balcony scale.
Harvest, Cure, and Use Your Balcony Compost
Use a small mesh strainer or improvised screen to separate finished compost from newer bits. Return the chunky leftovers as a starter for the next batch. If you use a tumbler, harvest one side while feeding the other. Keep the process tidy by working over a tray to catch every precious crumb.
Community, Learning, and Next Steps
Keep a simple log of feedings, moisture tweaks, and temperatures. Weigh your weekly scraps to celebrate waste reduced. Snap before-and-after photos of container plants fed with your compost. Those small wins are motivating. Share your milestones below and subscribe for seasonal checklists that keep your bin improving steadily.
Community, Learning, and Next Steps
Join local groups or online communities focused on small-space composting. Post photos, ask questions, and compare setups. Real balcony stories beat theory when space is tight. If a tip helps you, pay it forward in the comments. Let’s build a friendly knowledge loop that keeps every bin clean, quiet, and thriving.